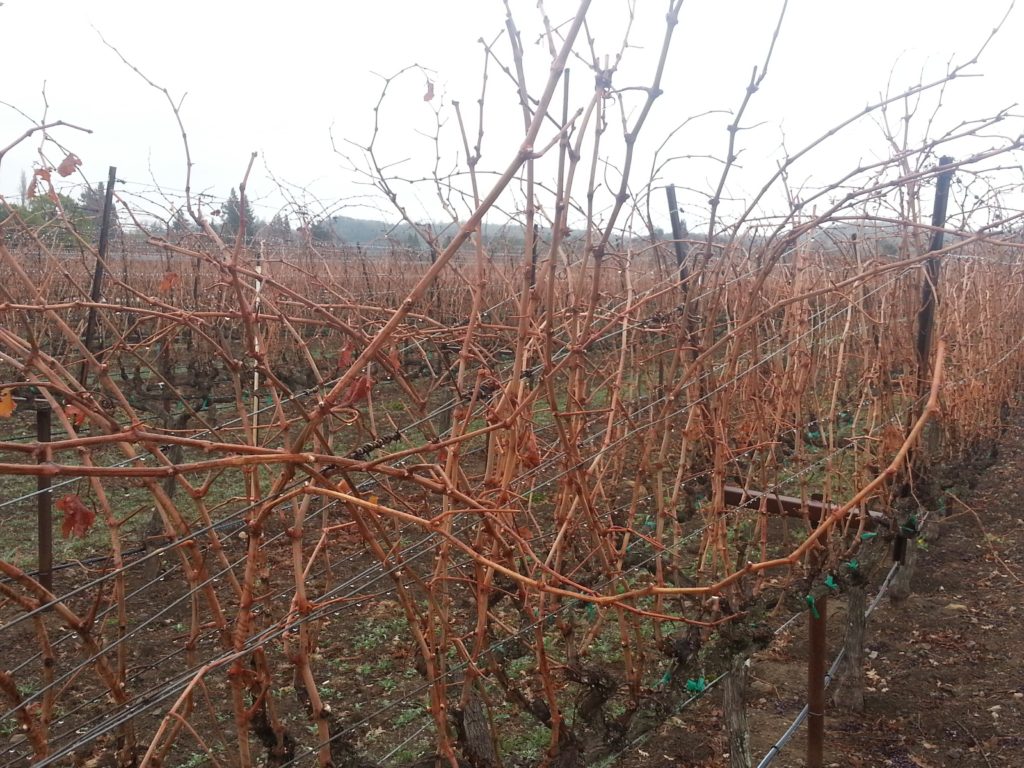
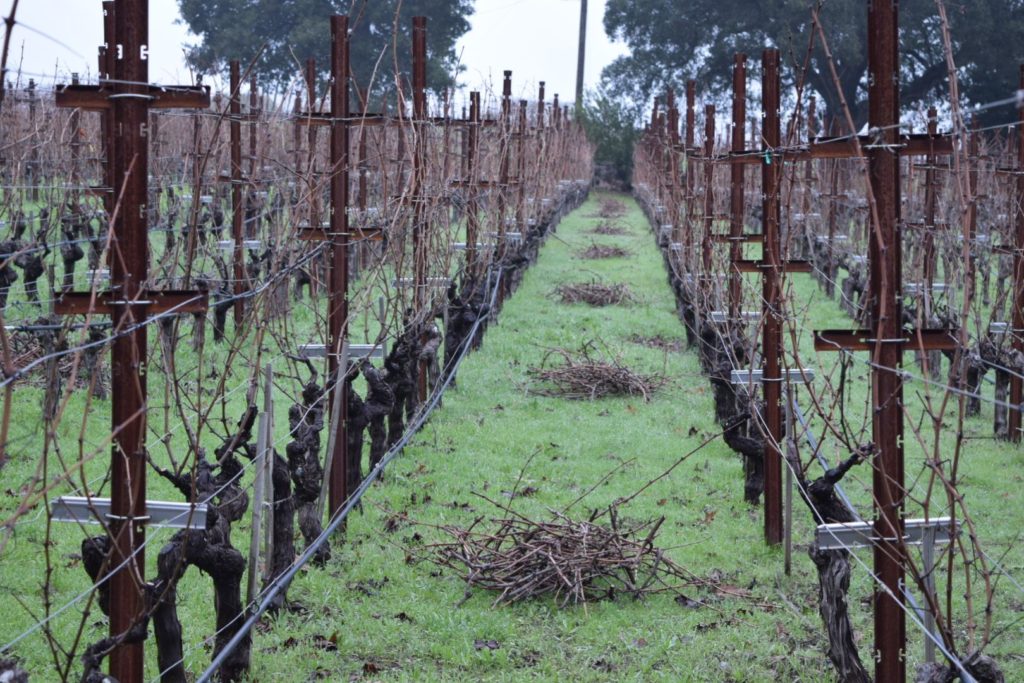
In early Spring or late Winter, sleepy vineyards become alive with activity as workers start preparations for the year’s harvest, and it’s a great time to propagate grape vines.
This includes lots of pruning. The vineyard manager calls for the cutting away of last years overgrowth to prepare for new life, increasing fruitfulness and development. The vines are dormant when this happens. This is also the perfect time to start the process of propagating new grapevines if one feels so inclined.
There are many other ways than using cuttings to create new grape vines, here we will focus on the easiest technique and method which we have been most successful with: rooting hardwood cuttings.

Making sure a vine is in it’s dormant stage is a crucial part of the process of propagation. Below is a simple step-by-step guide to creating new wine grape vines from cuttings. Also included is a list of Fun Facts, Tips & Advice to help you reach ultimate success – Your own vineyard!
Step by Step: How to Propagate Grape Vines
- The process actually starts right before harvest time. Walk the rows and select the healthiest vines in the vineyard and mark them to return later for cuttings. You’re looking for high quality fruit paired with high yields. To propagate grapevines, you want to start with the best materials.
- Have a good nursery in place or at a minimum a frost, bacteria and bug free zone ready to ensure healthy roots will establish well.
- You will want to keep the new vines in a potted nursery setting for a year and then establish in the ground the following year for best results. The nursery site chosen should be full sun with 8-10 hours per day.

- Have materials ready
a) sharp, sterile cutting shears
b) clean water in a sterile container
c) sterile, well drained soil that is nutrient rich (3 parts perlite to 1 part peat works well)
d) a growing pot with good drainage for each cutting (1 gallon is a good size)
The theme here is a “sterile” environment. Similar to a newborn baby, you want your newborn grape vines to enter the world without contaminants.
- Time to start cutting. Cuttings are taken from the cane of last years growth of one year old wood.
- An ideal cutting would have at least 3 bud nodes but no more than 7. Ideal number is 4 to 5. See the ‘bumps’ on the vine? These are the nodes or where the new buds will form.
- The wood at the top of the cane is well matured and not ideal, you will want to take cuttings from the middle section and cut both the top of the cane off before pruning the bottom portion that you will then root.
- Make your top cut about 2 inches from the node at an angle. Make your bottom cut right below the node itself leaving less than an inch of stem below the lowest node straight across. This will also help you remember which is the top and bottom by the angle of cut.
- Do not cut into the node itself. This is where the roots will start to form.
- Cuttings should be soaked in water for several hours, at least, before placing them into the nursery pots.
- After soaking, place the new cuttings in the soil pots, pack the soil on top lightly to make sure they are upright and leave no air pockets. Only the lowest node in the soil, the rest on top of it.
- Thoroughly water them which also helps remove air pockets. After that point water them as needed. Not soaking wet but not dry either. Especially on warmer days, make sure the soil is saturated. In late Winter, early Spring it is cooler and wetter, they should not require too much water.
- NOTE: You can use rooting compounds before placing them into soil. Many books and experts note that they do not recommend this and say it is not needed when it comes to grapevines and sometimes can even make growth less vigorous. To each his own.
- Wait until the roots are established and firmly held in place in pots before transplanting them outdoors from the nursery. Try to also wait a year before putting them into the ground so that a strong and healthy root system is established first.
- Yep, it is that easy. Enjoy!!
Tips & Facts for Rooting Hardwood Vine Cuttings

- For most practical purposes it is best to keep the cuttings the same length – 14- 16 inches would be ideal.
- It can be difficult to tell the top from the bottom portion of cuttings, make sure you mark them accordingly if you are not transferring them directly into a water or soil medium.
- Cut and plant more than you may need. Some will not take for one reason or other and it is easier to give them away later if you have extra than to wait a year to repeat the process.
- An 80% success rate is GOOD for rooting cuttings. Pat yourself on the back.
- If you decide to use a rooting compound, these are created for both softwood and hardwood – make sure you get the hardwood variety.
- The discarded cuttings from just ONE grapevine can produce dozens of new vines.
- Growing your own grapes from hardwood cuttings is most common way since grapes are generally pruned while dormant and storing their energy. And success rates with this method are higher than others.
- Wine grapes are prolific growers. Pruning happens every year in the vineyard, it is easier than you think to obtain cuttings. Of course – always have permission with the owner and vineyard manager before doing so, it is farmland and take care to follow any instructions they give you. Or let them prune themselves and just gather the cuttings (again, with permission)
- Weather is always a factor when growing anything. Make sure the vine does not get too cold, or for that matter, too hot in the beginning stages of growth.
The Five Main Ways to Propagate Grape Vines
- Hardwood Cuttings
- Green wood Cuttings
- Growing from Seeds
- Grafting
- Layering